Overview
Webflow is a visual website builder that allows you to make responsive websites without using any code. Since it's built with a content management system (CMS) that will enable you to create, manage, and publish what you want in one place, it is especially popular for blogging. With Webflow, you can customize your site, ensure it’s optimized for search engines, run fast, and talk to explainers smoothly. However, whether you are beginning a personal blog or responsible for creating content for a large audience, it offers you more control over your content than traditional platforms.
This means dynamic content handling for blog management driven by the Webflow CMS. You can set up collections to group your posts and set templates to offer not only different layouts but different functionality as well. It saves us time managing multiple posts and keeping the blog looking the same. Using the Designer tool, you can style your blog pages visually without any coding, and there’s support for rich media like images, videos, and embeds so that your page is engaging and interactive.
In this blog, we will explore how to quickly set up a basic CMS and blog page for your website using Webflow and why you should consider it an alternative to traditional blogging platforms like WordPress. This is especially crucial if you are a webflow designer and want a more design-focused approach to managing and customizing your content.
Key Features of Using Webflow for Blogging
Fast Hosting: Quick page loading is also ensured for better user experience and search rankings.
Built-in SEO Tools: It simplifies performance and metadata optimization for search visibility balance.
Customization: Provides total control of blog design and layout for unique branding.
Dynamic Content Management: Custom Collections and templates make the post organization and management easy.
Code-Free Design: It’s accessible to non-developers thanks to visual design tools.
Rich Media Support: Combined to make for more engaging content.
Tired of wasting engineering time on content?
Building a Webflow Blog
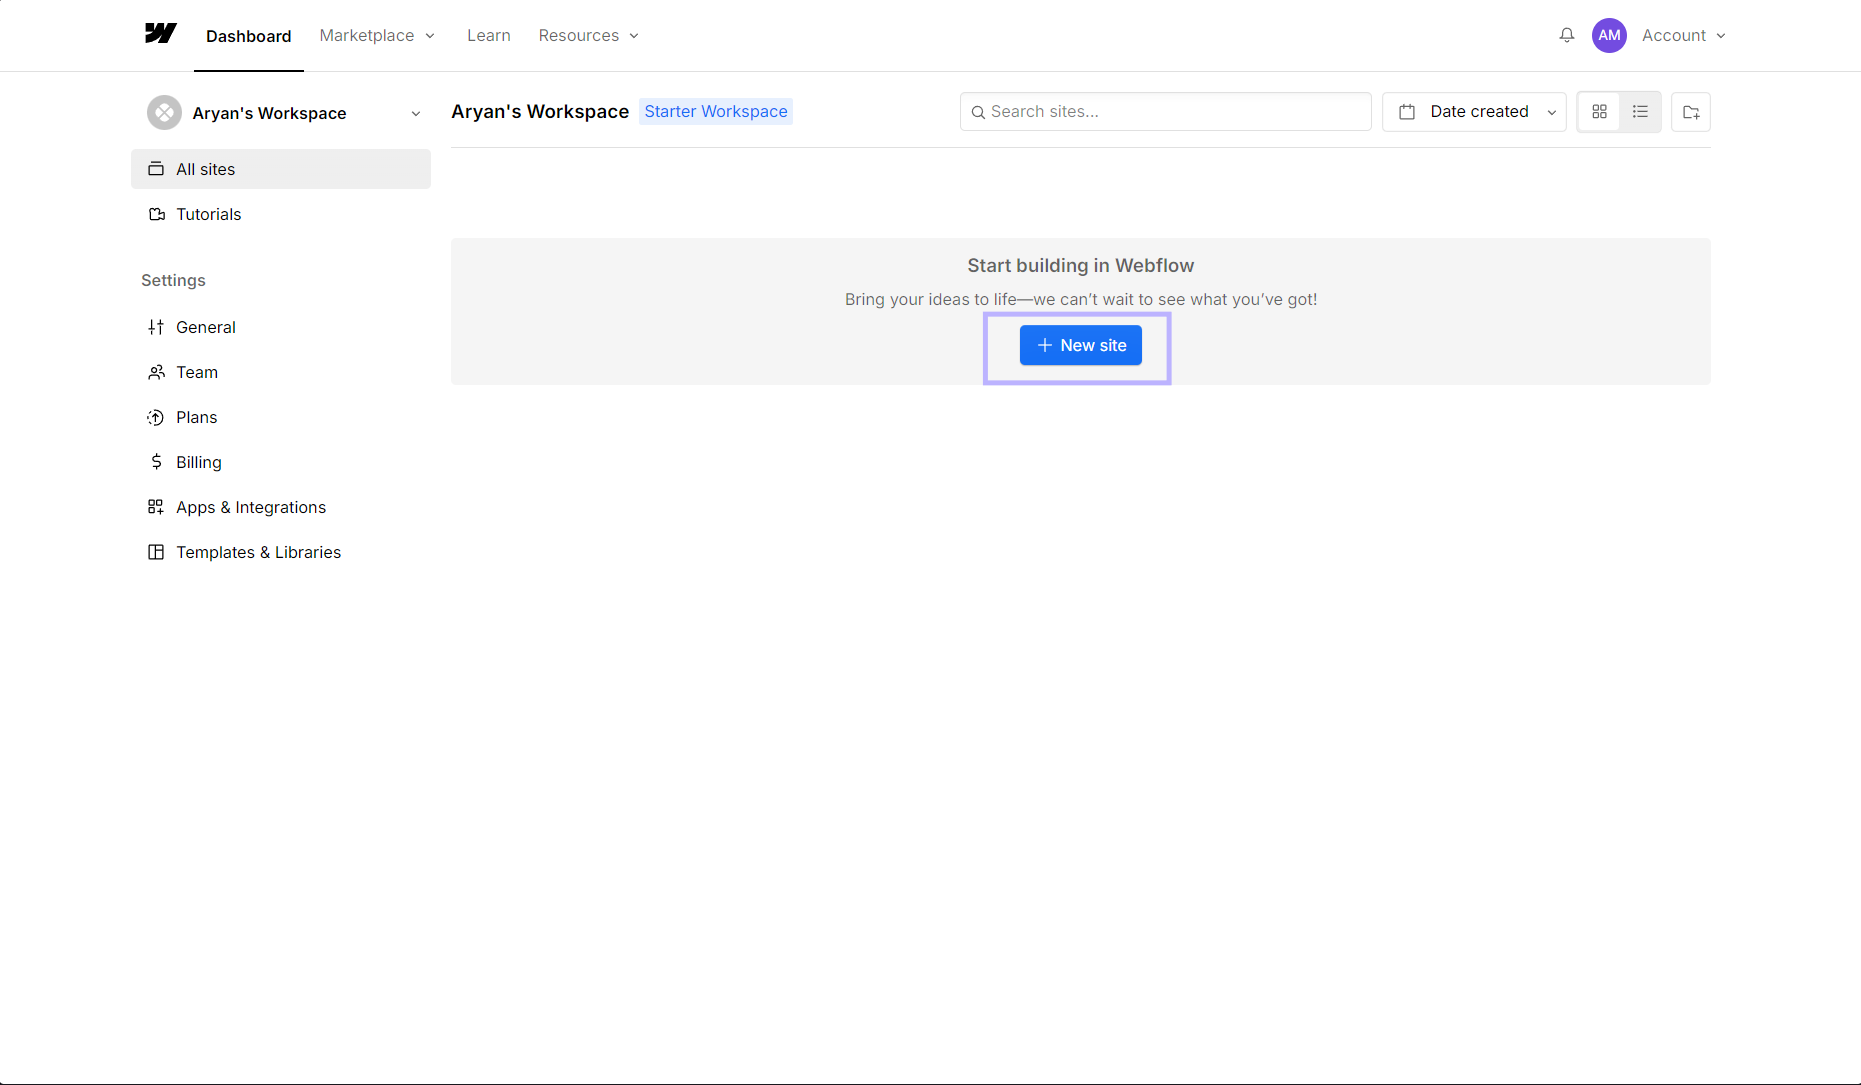
For starters, you would need to create an account with Webflow, or if you have one, simply login to your Webflow account. After logging, navigate to the main dashboard.
If you are a new user, click on the New Site button; otherwise, choose an existing site that you might be working on and open it.
Setting Up the CMS
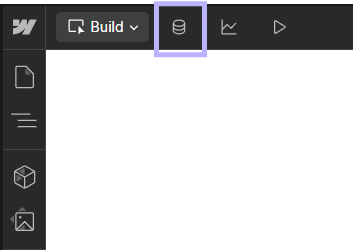
To add your blog functionality, start by creating a new site or using an existing one. Then, navigate to Webflow’s CMS tab by clicking the CMS icon or pressing Alt + C.
Creating Your Blog Collection
If this is your first time, you should see a CMS collections page that contains all the collections you have created for the specific sites. It should look something like this.
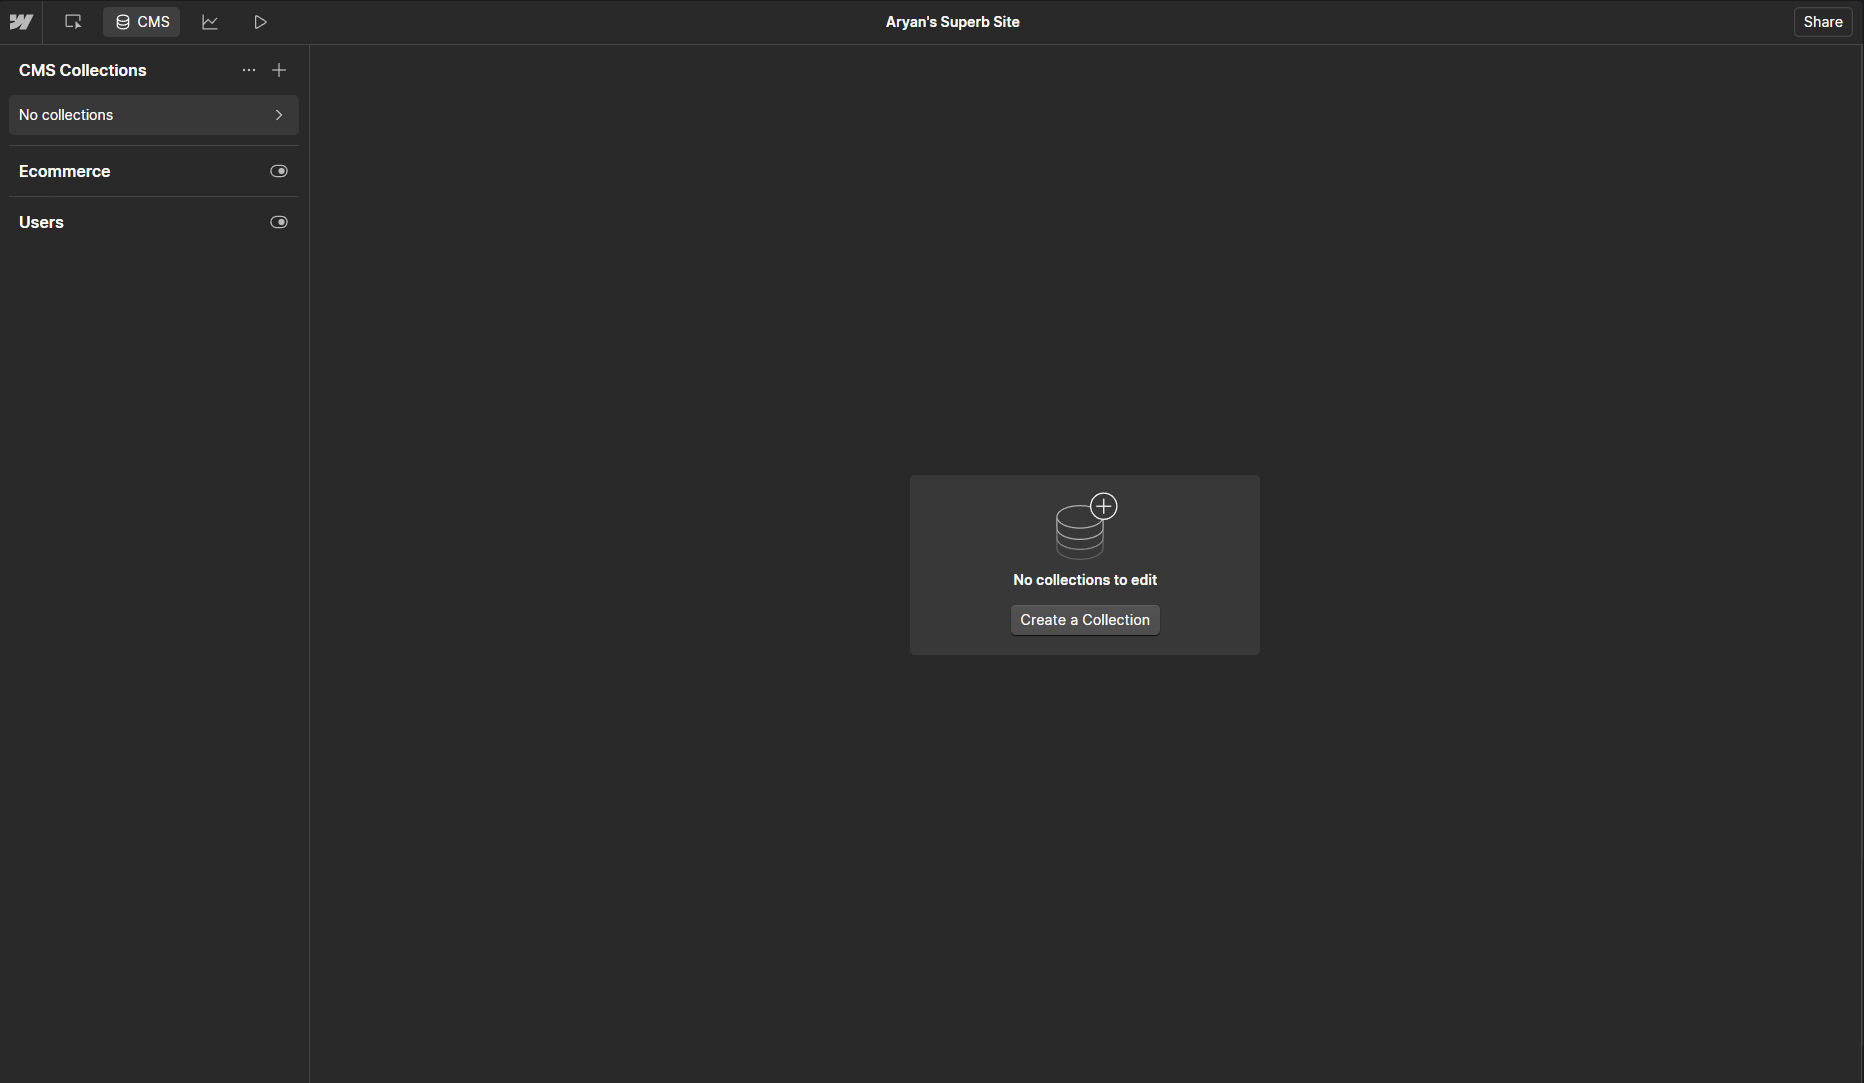
Click the + icon at the top left corner or the Create a Collection button. This will create a New Collections form with all the necessary utilities to create custom CMS settings.
By default, you already have a bunch of Collection Templates provided by Webflow. You can click on the Blog Posts to get the blog template with all the necessary input fields.
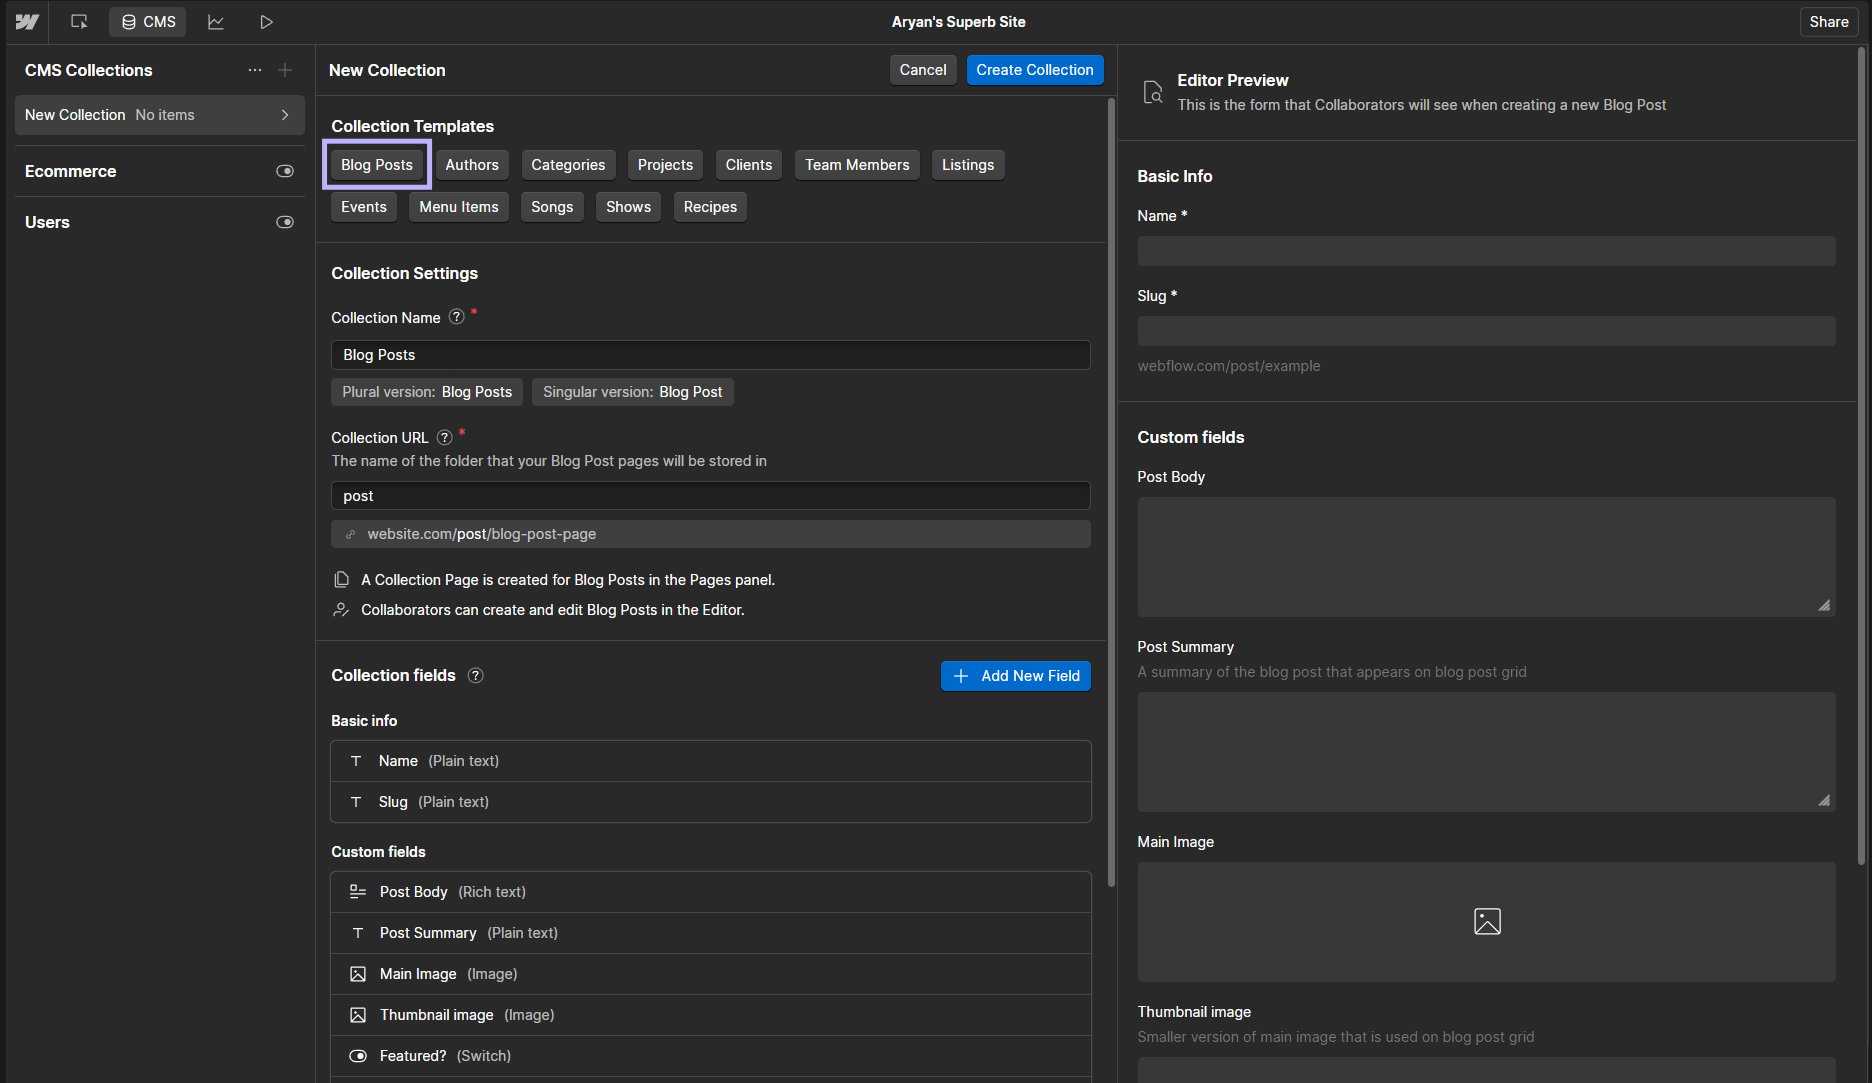
You get a barrage of form options, including the custom site path URL, which users will see when they visit your blog’s page. You also get other options related to the blog’s details, such as its cover image, thumbnail, and feature options. These fields will help you structure your blog content and dynamically populate pages. However, you can edit them as you see fit for your website building process.
Once you are comfortable with the structure, click the Create Collection button on the top right of the New Collection pane to create a new collection for your blogs.
Adding and Managing Blog Content
Adding new posts is straightforward with Webflow CMS. Go to Webflow’s CMS tab and click on the `New Blog Post` button to add new blogs.

After clicking on it, a new pane should appear with all the input fields you declared in the CMS collection for blogs.
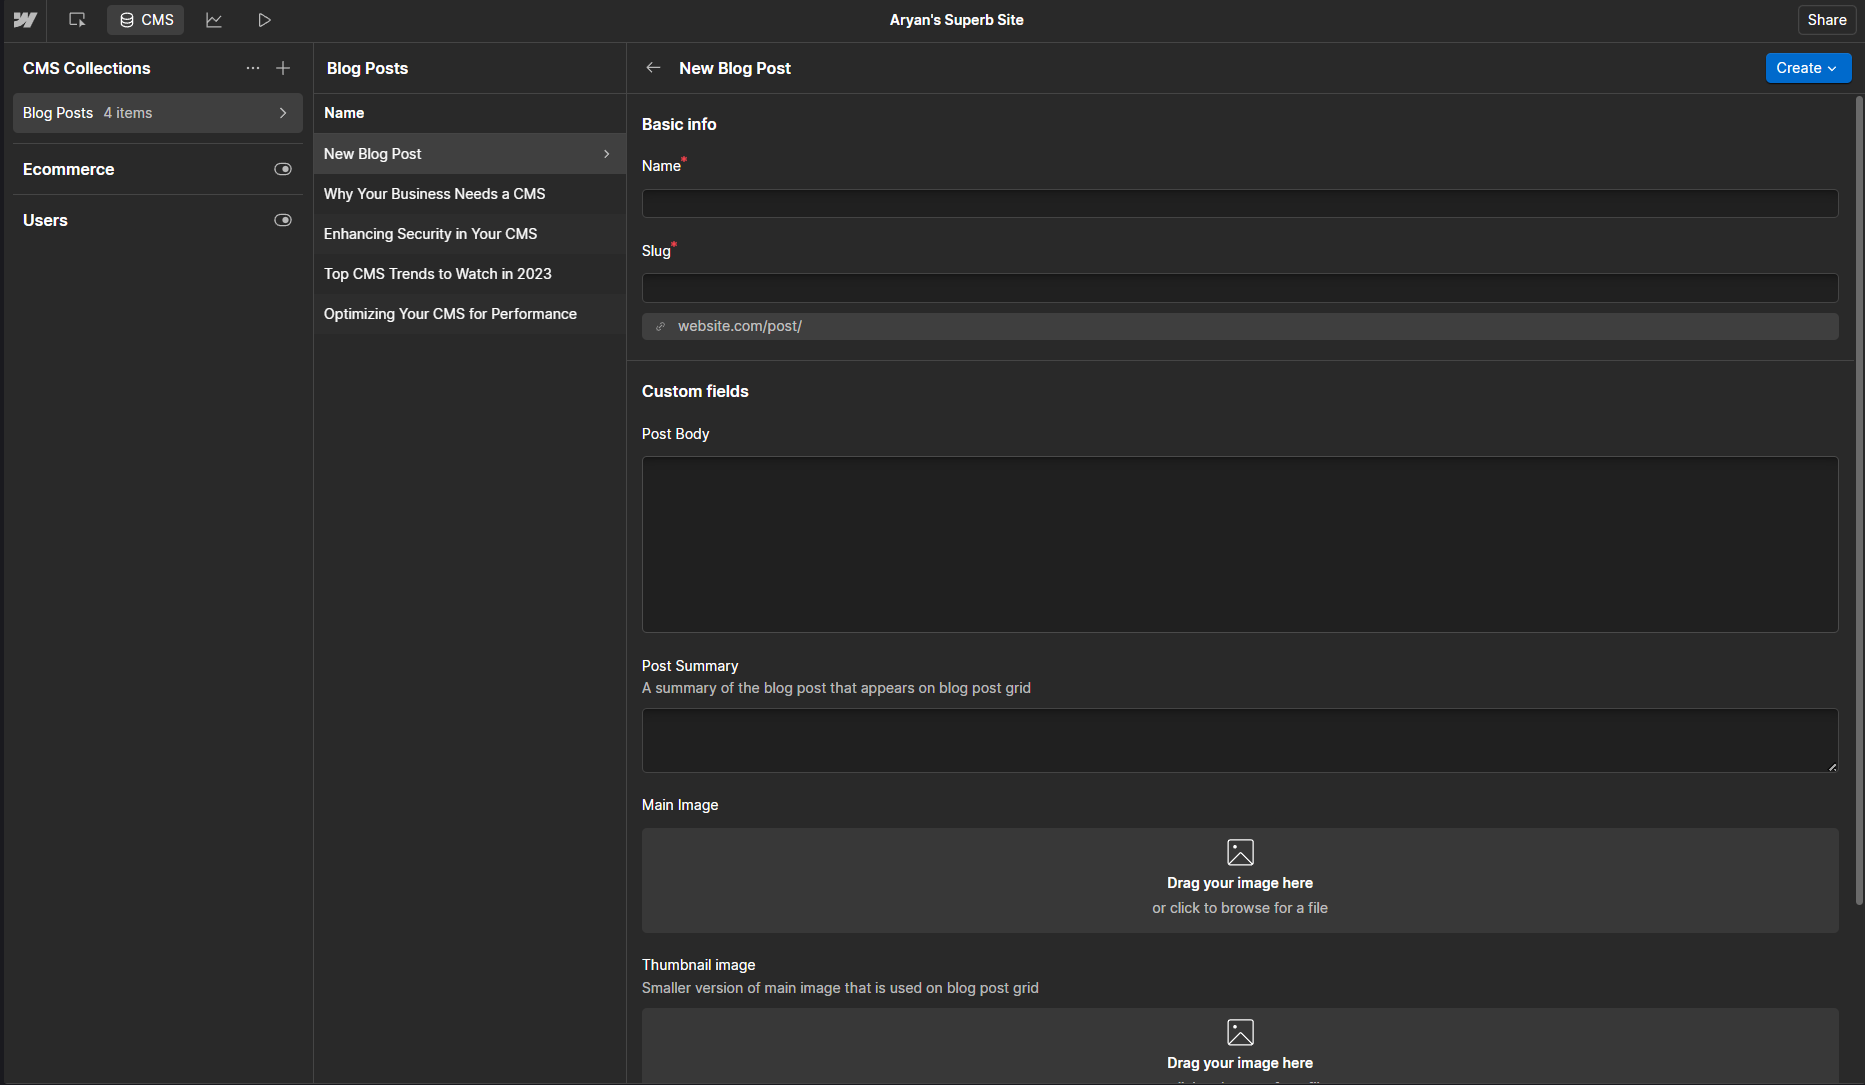
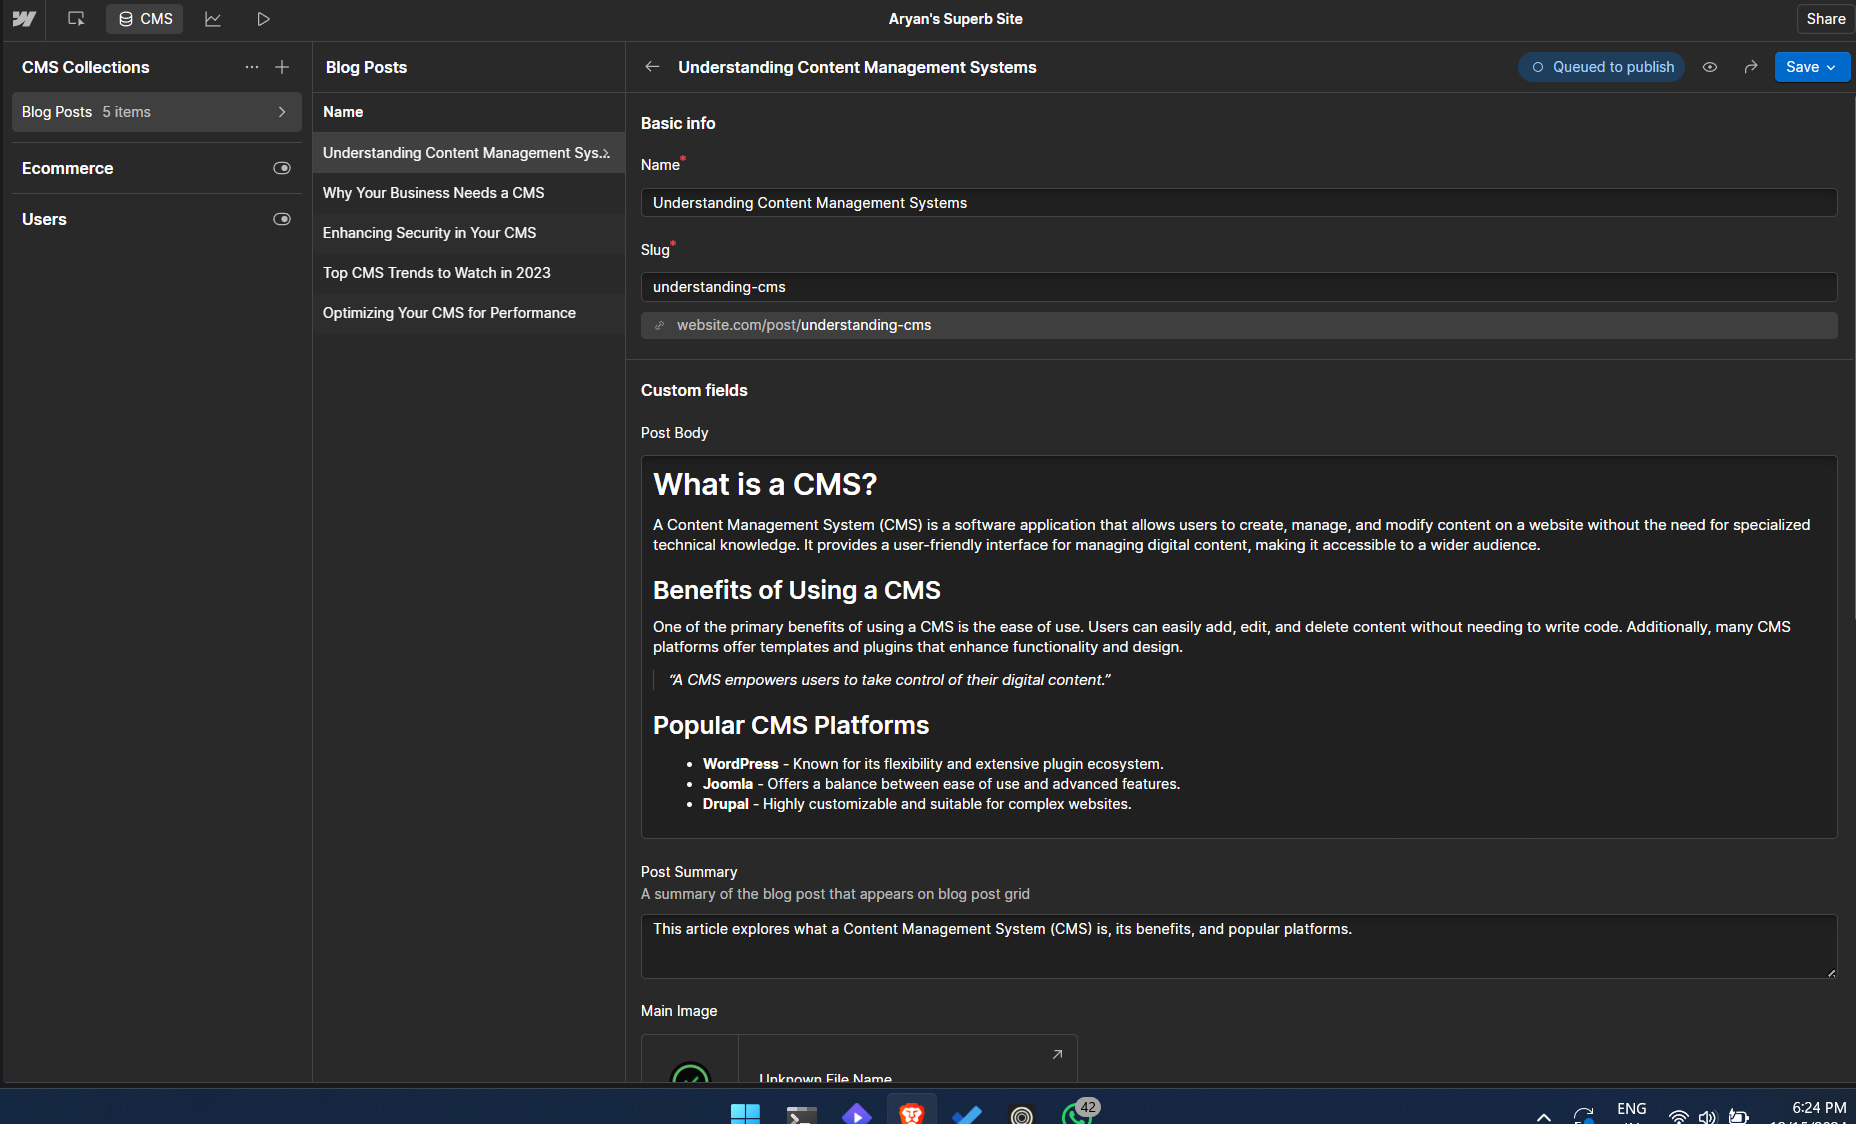
Add the details as you see fit, then click the Create or Save as Draft button, depending on how you want to stage your blog. You can also edit it later if you like.
Designing Your Blog Layout
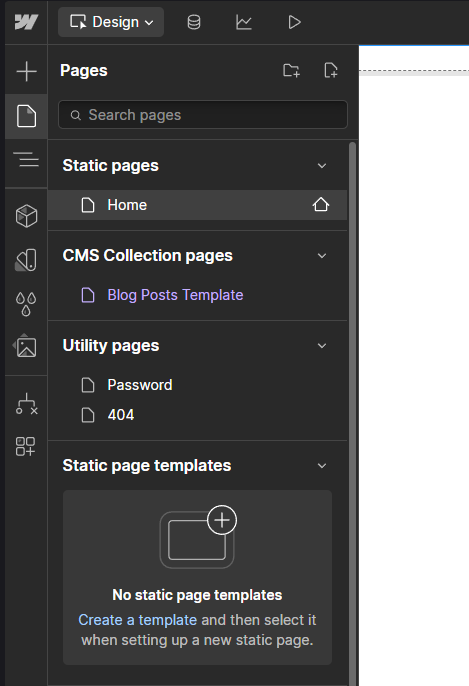
Navigate to Webflow’s design space or press Alt + D. Then open the Pages tab. You should see a new template page under the CMS collection pages.
Open it up and use Webflow’s Designer tool to build a custom layout for your blog or use a pre-made component template from Webflow’s vast library. Drag and drop elements like text blocks, images, and buttons to create a visually engaging design. Try to make the layout responsive so it looks great on all devices.
Connecting Elements to CMS
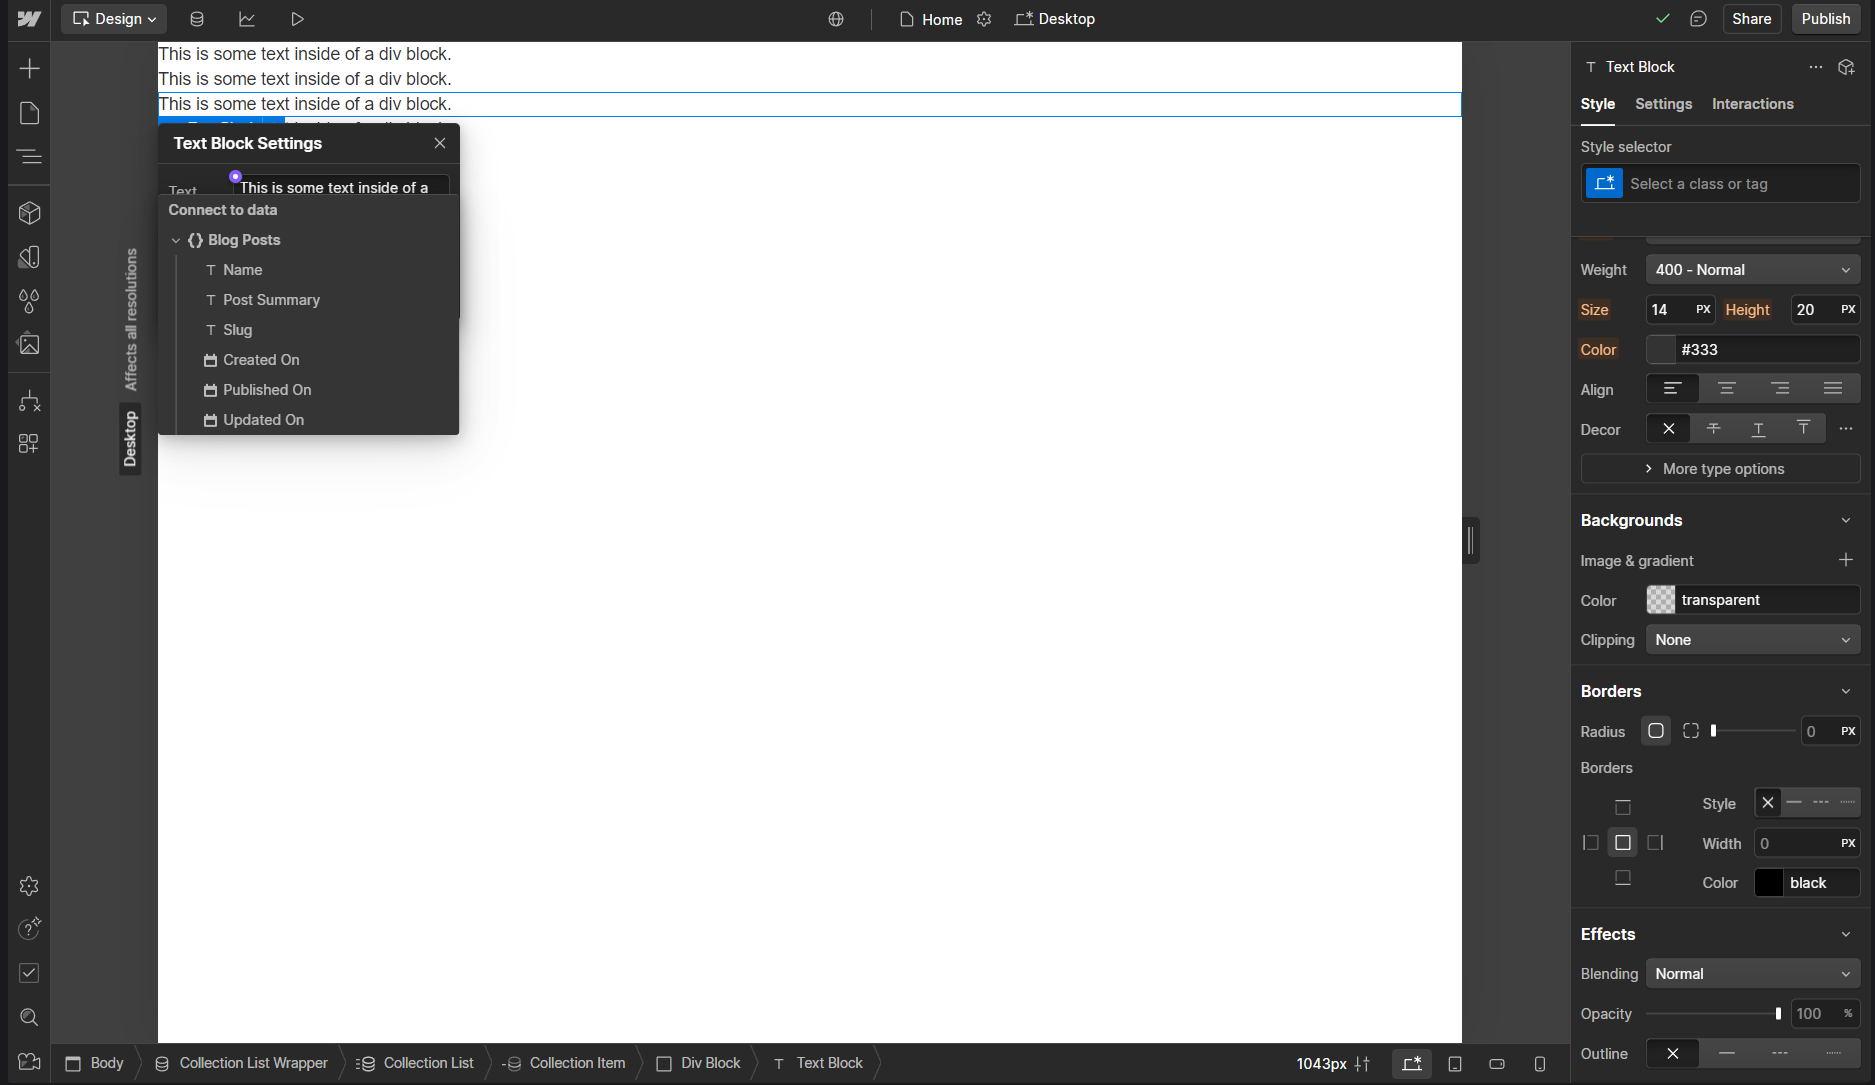
After you are done, it's time to dynamically link your static div elements with the content you have saved in the CMS. Select the div you want to link and then click the gear icon.
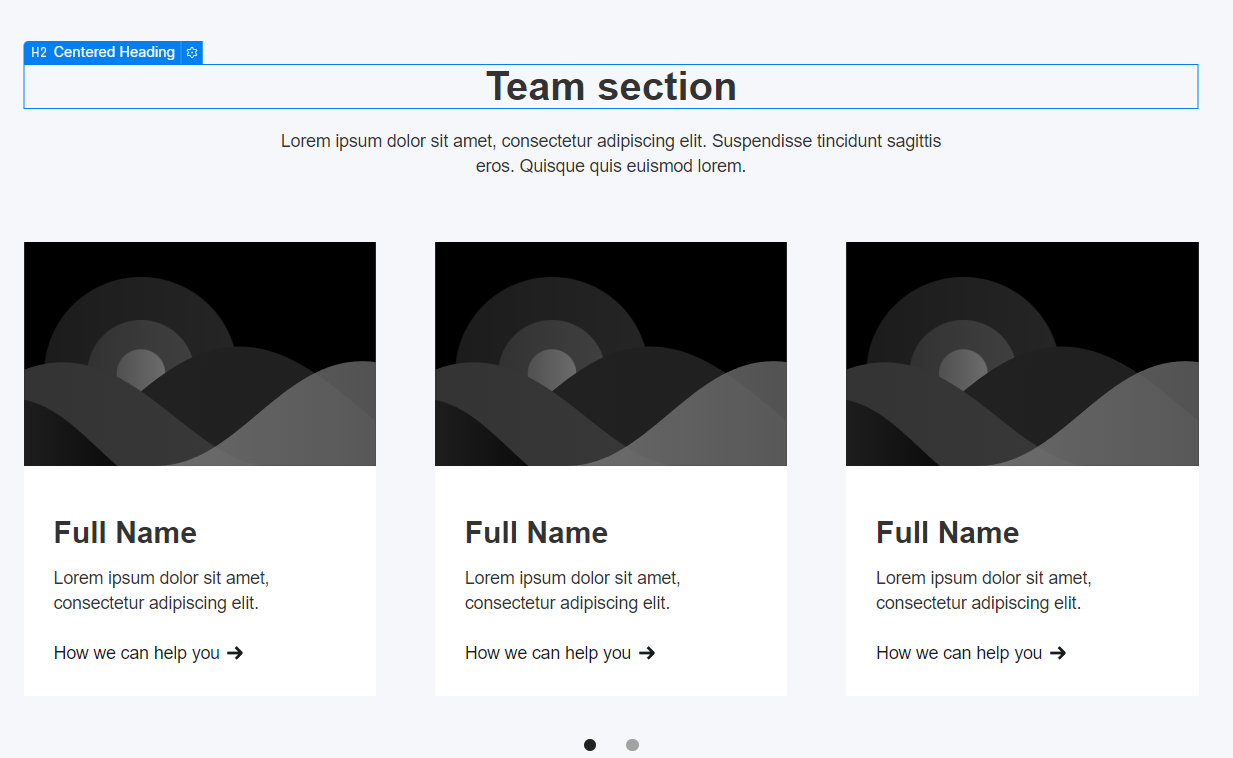
You should see a drop-down menu with similar form content, but it can vary depending on the division you are working on.
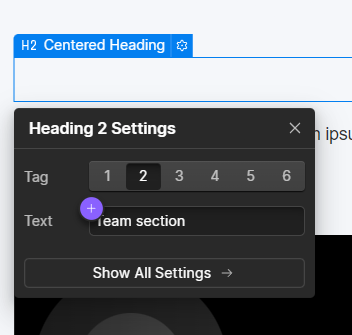
Click on the + icon for the element you want to select. A drop-down menu will appear, giving you all the relevant fields to substitute with the chosen element div.
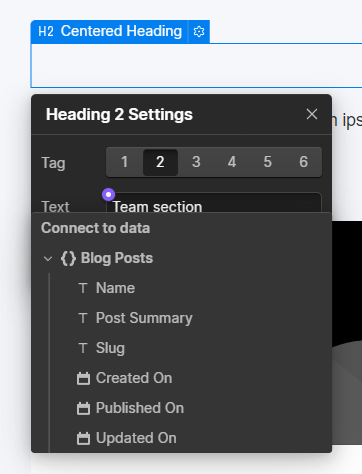
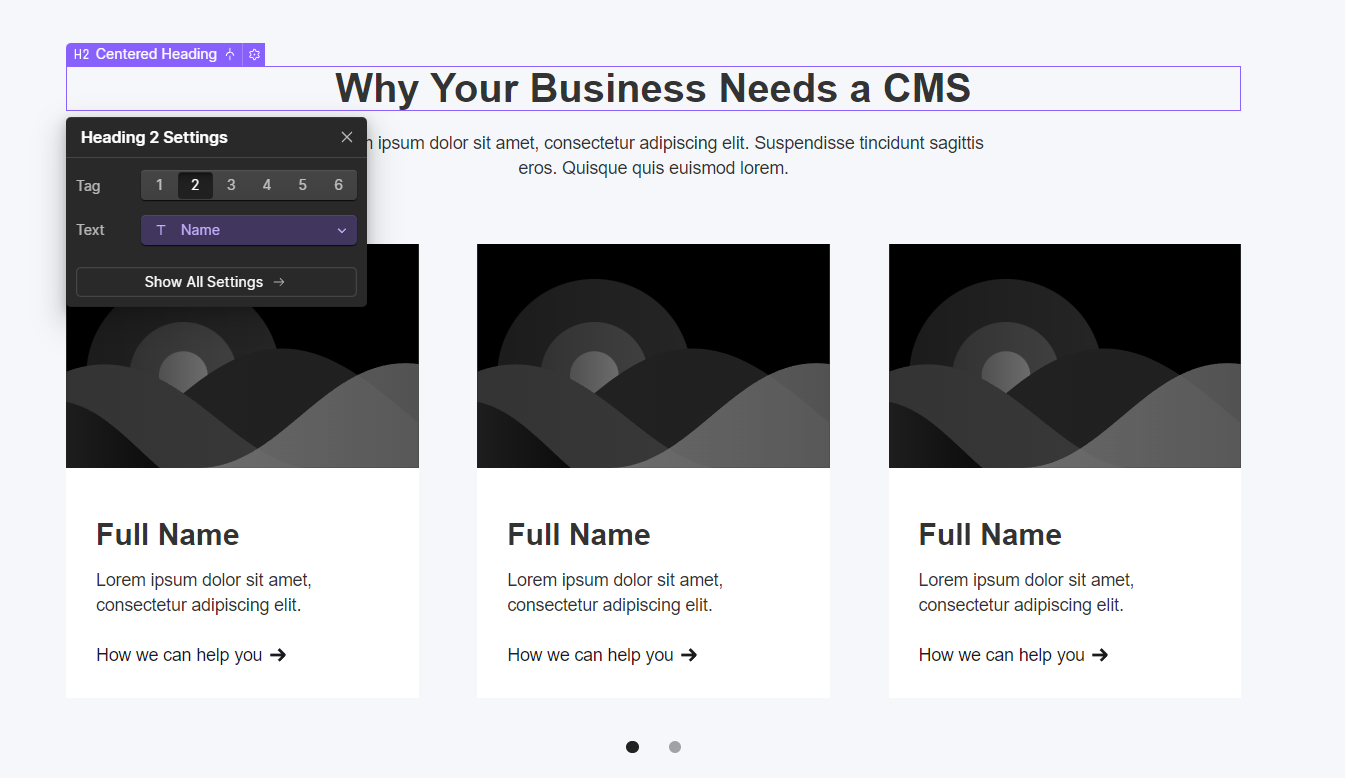
You can then link that CMS field with the div, which will automatically display a preview of the element from the latest collection entry.
Referencing Blog Posts on Other Pages
Now that you have understood how we can create a CMS for your blogs and create a blog page template, you might be intrigued to know how to reference your blogs or showcase them on your customized home page or a separate blog page. For that, you would have to use a new element known as the Collection List.
To add this element to your page, navigate to your Webflow's visual editor, click the + icon at the top left corner, or press a to toggle the element pane.
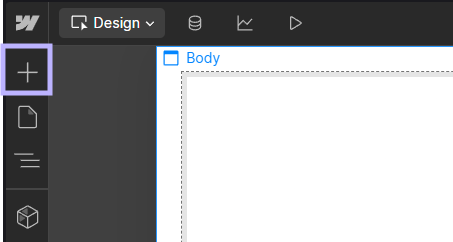
After navigating to the pane, scroll down and click on the CMS’s Collection List element. You can then drag and drop this element into your editor.
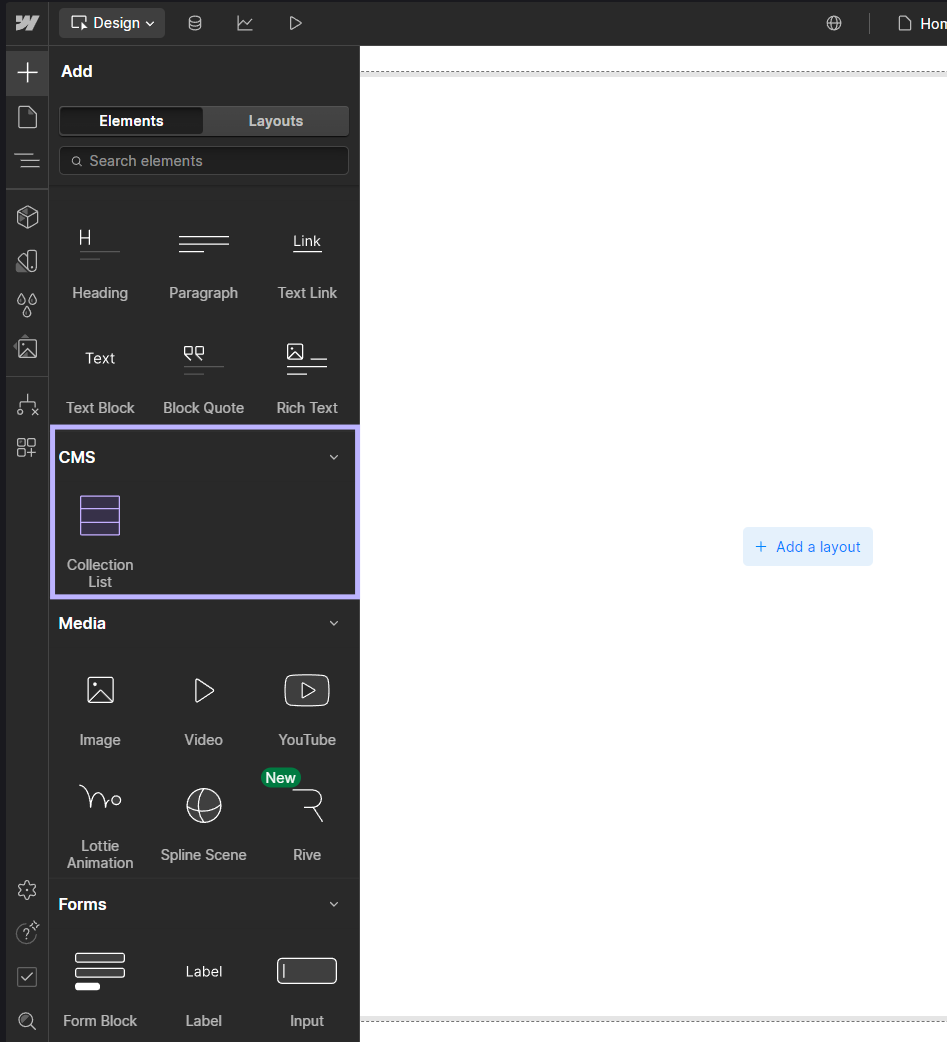
You will see a purple element on your screen. Feel free to place it wherever you like in your design. Double-click on it to change the source of the Collection List to the new blog collection we just created.
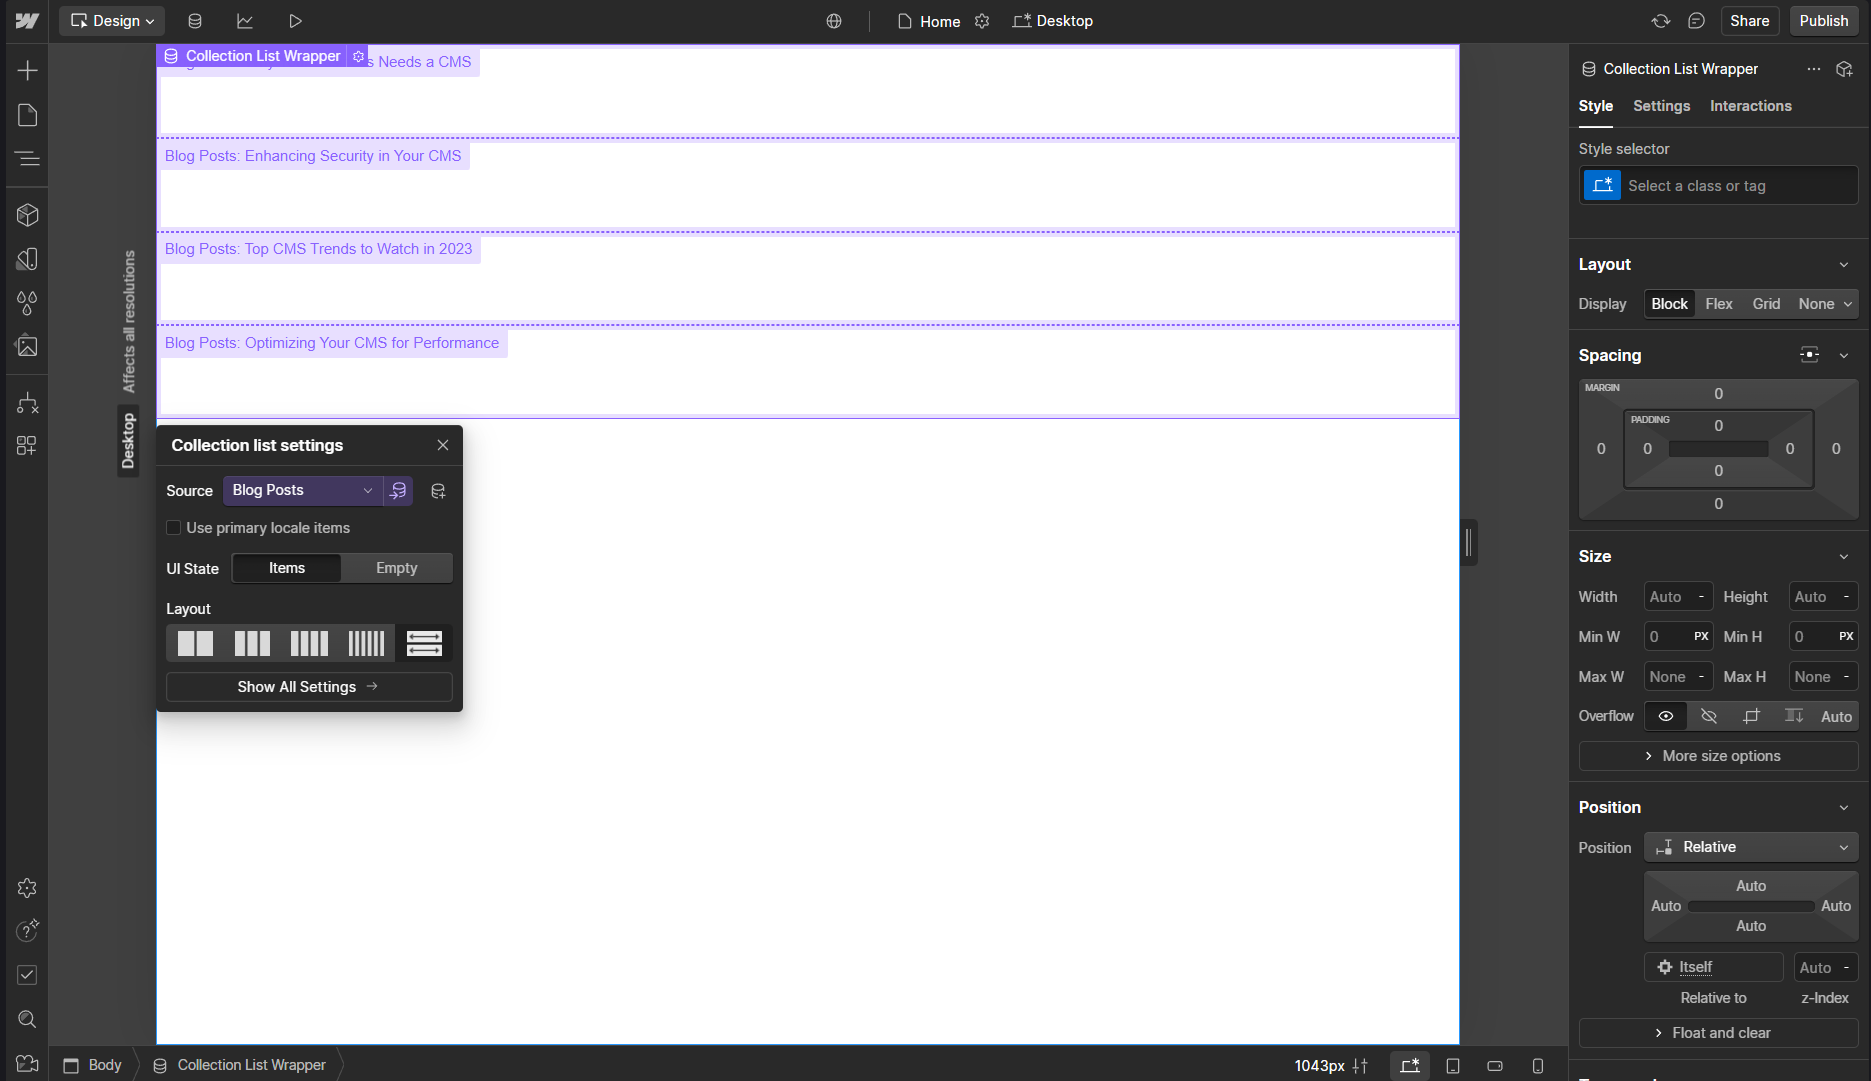
You can now add more divs to the Collection Item and customize the layout according to your design needs. After you are satisfied with your design, you can connect the layout elements with the CMS elements in the same fashion as we did in the templates page above.
Webflow also provides additional settings for your Collection List to sort out the blog’s view order and presentation. This means you could show the visitors your blogs in whichever order you see fit. To fiddle with these Collection List settings, select the Collection List element on the Webflow editor and then click on the Settings tab on the right side pane that appears on the editor.
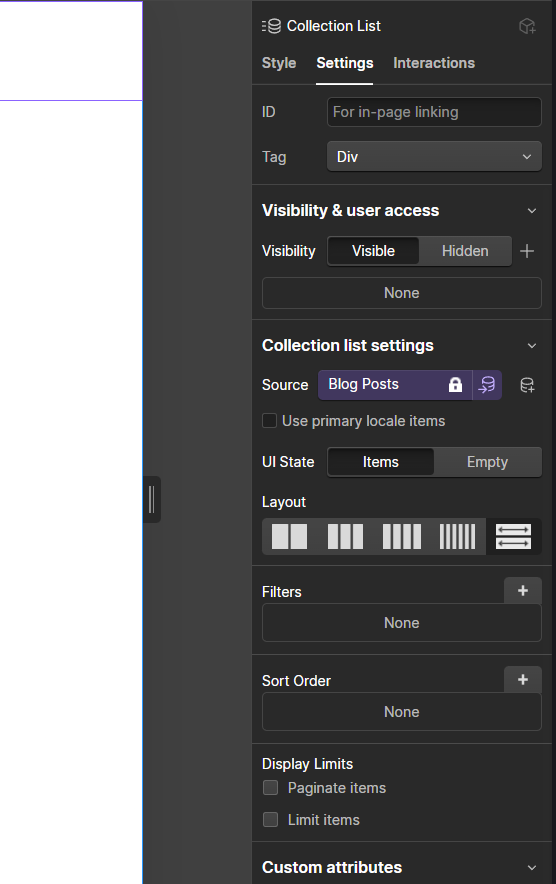
These settings include limiting the number of blogs you can feature on your custom page and even changing their order. For example, you can declare rules within the Collection List settings to order them according to their published date, from latest to oldest, or vice versa.
With this, you have covered the basics of creating a CMS with Webflow and using that within your Webflow design page. For more information, you can check out Webflow’s official documentation to better understand its elements and how you can customize it to your needs.
How to add a hyperlink to text in Webflow
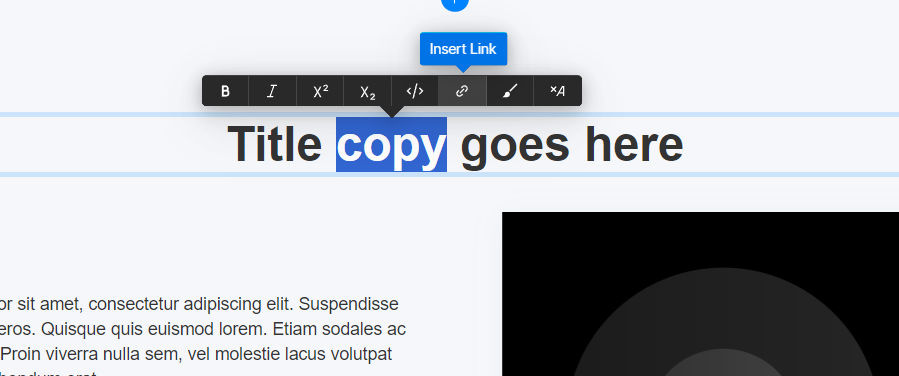
To add hyperlinks to your elements in Webflow, select the element you want to use as a hyperlink extension. An insert link icon should appear on top of it.
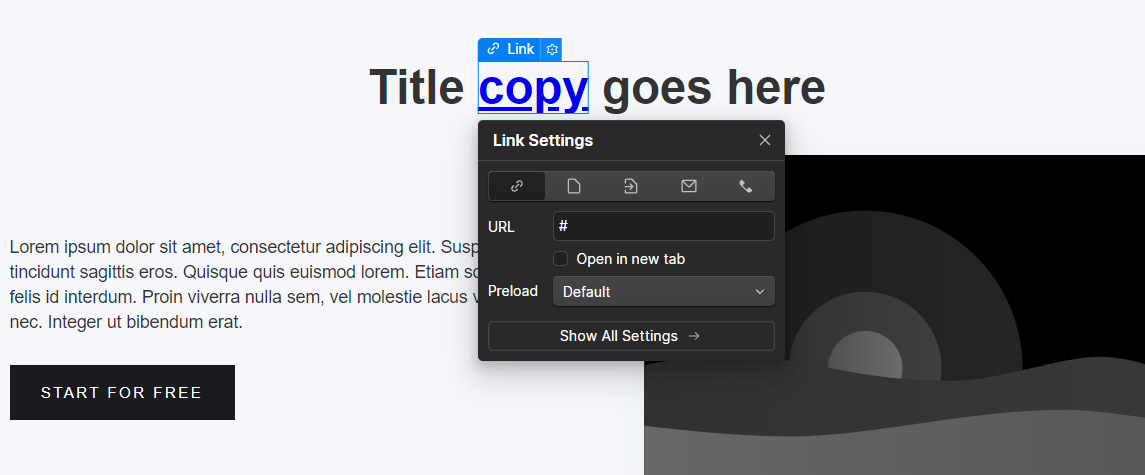
After clicking the icon, the selected text will be highlighted in blue to indicate a hyperlink. You can customize it by clicking on the gear icon and making changes, such as changing the hyperlink or highlighting the selected text in a different accent color.
Why Consider Webflow
As we discovered, if you came along for the ride, setting up a CMS and blog on Webflow websites, which is a web development platform, is a fairly straightforward process that allows for an intuitive, no-code approach that will enable you to create websites with features to design, customize, and manage your content. Webflow offers this capability and an excellent set of tools for creating an outstanding visual result, making it a great option for bloggers who give much importance to visual creativity.
Webflow is a more designer-focused experience than other website builders such as WordPress. Directed toward the WordPress community, WordPress is feature-rich and very extensible, but you often need to rely on plugins, themes, and custom code to reach specific design goals you may have. On the other hand, Webflow allows designers to visually create and customize layouts using its powerful Designer tool, granting them all pixel-perfect control without any third-party tools.
Webflow’s CMS and hosting are integrated, so you can design and publish without checking into a third-party web hosting platform for website creation and navigating through an additional page as a CMS. This is especially attractive to designers who want a single, cohesive solution with many advanced design features without sacrificing creative freedom. Furthermore, Webflow produces cleaner, SEO-friendly code in the background that almost does not require manual code refinement, unlike many WordPress themes.
Every devtool startup needs content. Most do it wrong.
Conclusion
Webflow can help you build or manage a blog on a customizable platform for beginners and experienced developers. Its easy-to-use CMS, robust design tools, and SEO baked right into the CMS make it an ideal choice for anyone who wants to build a custom blog but does not have to write any code. Webflow provides dynamic content management, rich media support, seamless navigation, and all the best performance optimization. Webflow allows you to control and customize every aspect of your blog with third-party tools and your content. Webflow has all the tools you need to create and start blogging or migrate an existing blog to a new home.
FAQs
Is Webflow as good as WordPress?
Webflow is noticeably quicker than WordPress, cutting development time in half, if not more. This efficiency is primarily due to Webflow's built-in features, integrated hosting, and intuitive design interface. Together, these advantages completely streamline the build and design process.
How much does it cost to start a blog on Webflow?
Webflow’s plans include a free option, but custom domains and hosting require a paid plan (starting at $12/month).
Does Webflow need coding?
Do you need to know how to code to use Webflow? The answer is no. Webflow does not require you to be code-savvy, but unlike its competitors, it offers custom code freedom for those who know how. This makes Webflow an equally great option for those new to web design and those with more experience.
Is Webflow better for SEO?
One key advantage of using Webflow for SEO is its ability to Generate clean HTML code. Search engines prefer websites with well-structured and organized code, which helps them understand the content and context of the page. With Webflow, your website will have a solid foundation in terms of code quality.
How to make a CMS collection page in Webflow?
Once a Collection is created, a Collection page will also automatically be created. You can select this Collection page by going to the Pages panel and choosing it under the Collection Pages section. A purple icon next to the Collection page indicates a CMS-generated page.
Can we delete the breakpoint in Webflow websites?
You can't remove a more significant breakpoint after adding it to your site. However, you can delete all unique styles set on that breakpoint by switching to it and pressing Option + click (on Mac) or Alt + click (on Windows) on the styles with blue labels, which indicate they're set on this specific breakpoint.
How to add the brand logo in Webflow?
To upload your own logo to the Webflow Editor, go to Site settings > Site access > Branding and click Upload logo.


